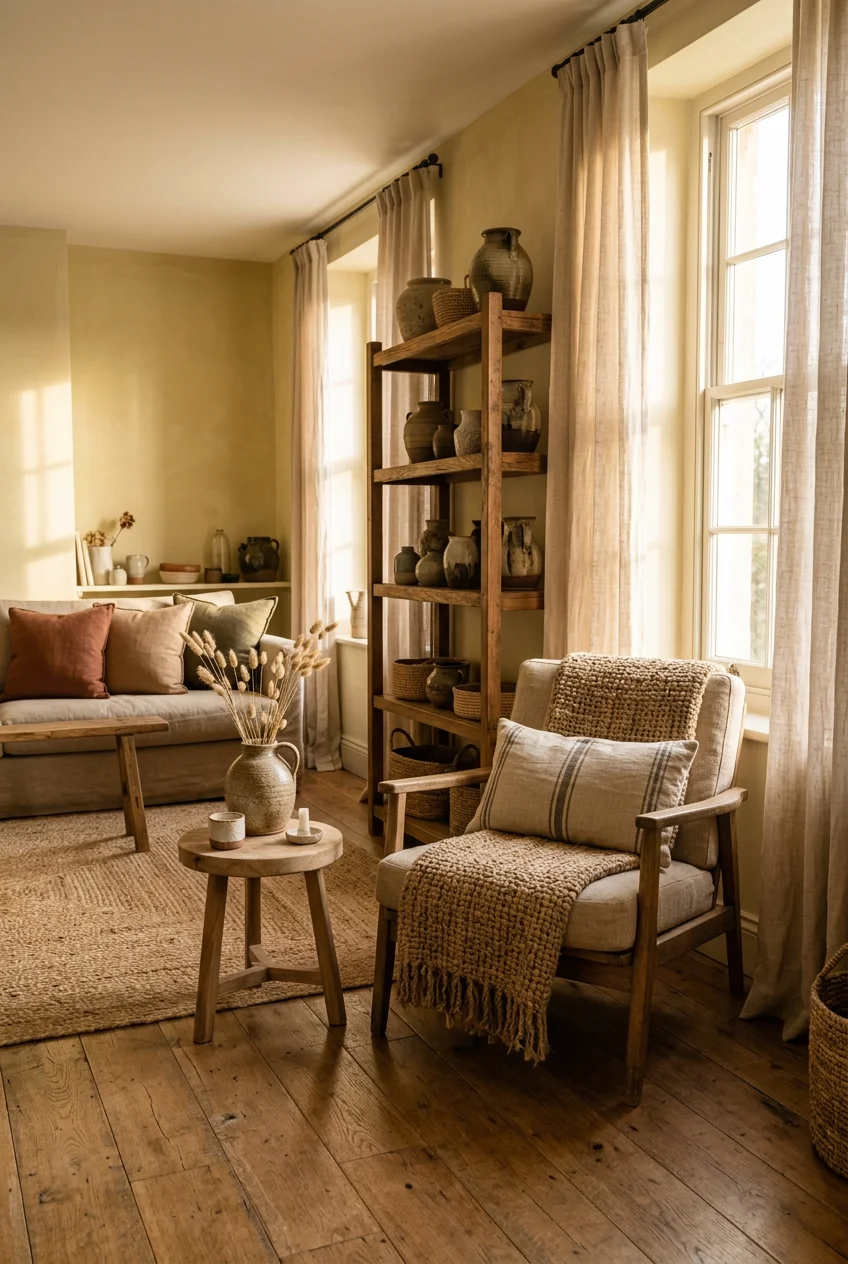
What’s Inside
- Concrete Fluted Planters: Structural Home Made Decor Ideas
- Baking Soda Painted Vases
- Plaster Art Canvas
- Fluted Wooden Side Tables
- Botanical Wax Sachets
- Pressed Fern Floating Frames
- Custom Linen Slipcovers
- Terracotta Painted Glass Vases
- Macrame Plant Hangers
- Tassel Throw Pillows
- Floating Pine Wood Shelves: Practical Home Made Decor Ideas
- Minimalist Polymer Clay Knots
- Dried Citrus Garlands
- Upholstered Plywood Headboard
- Rope Wrapped Storage Baskets
- Painted Arch Wall Feature
- Faux Marble Vanity Trays
- Beaded Wood Garlands
Last Tuesday on my patio, I poured a wet, gray clump of cement that refused to cure. I stared at the soupy mess leaking out of my plastic mold, realizing I’d wasted an entire afternoon. That failure taught me that finding reliable homemade decor ideas requires exact measurements, not guesswork. I’m sharing my exact formulas today. Most homemade decor ideas fail because people rush the drying process or skip the prep work. When I started styling homes three years ago, I assumed DIY meant cheap and flimsy. I was wrong. A properly executed piece looks indistinguishable from a high-end boutique find. You just need the right materials and a methodical approach. I’ve spent the last six months testing these projects. I tracked the costs, timed the curing phases, and noted exactly where I messed up so you don’t have to. Skip the vague tutorials. We’re focusing on structural integrity, proper adhesion, and exact paint codes. Let’s get to work.
1. Concrete Fluted Planters: Structural Home Made Decor Ideas

Materials: Quikrete 50 lb bag ($5.45 at Home Depot), 2 empty plastic containers, cooking oil spray. I tried making these in October using regular potting cement. The sides cracked after three days. I switched to Quikrete 5000 because the commercial grade aggregate prevents hairline fractures. You need exactly 4 cups of dry mix to 1 cup of water. Spray the inside of your 6-inch container and the outside of your 4-inch container with PAM original cooking spray (the $3.28 can from Walmart). Pour the concrete into the larger container until it’s half full. Press the smaller container into the center. Weigh the inner container down with heavy rocks. Let this sit in a dry room at 70 degrees for exactly 48 hours. Don’t touch it at the 24-hour mark. The concrete feels dry but the internal moisture causes the rim to snap when demolded. Once cured, you get a solid, industrial planter.
2. Baking Soda Painted Vases

Materials: Liquitex Basics acrylic paint 4 oz ($6.49 at Michaels), Arm & Hammer baking soda 1 cup ($1.24 at Target), cheap glass vase. Adding baking soda to paint creates a matte, ceramic-like texture. I learned the hard way you can’t use cheap craft paint. I used a $1 paint last year, and the baking soda caused it to flake off. Mix 1/2 cup of Liquitex with exactly 2 tablespoons of baking soda. Stir until clumps dissolve. The consistency changes into a thick, gritty mousse. Apply it to your vase using a 2-inch synthetic brush. Brush horizontally, then vertically for cross-hatch texture. Let it dry for 45 minutes. The second coat fills gaps and creates that authentic aged pottery look. I ruined my first batch by adding water. Water dissolves the baking soda granules, destroying the texture. Keep the mixture thick. Trust me on this.
3. Plaster Art Canvas

Materials: DAP DryDex spackling 16 oz ($7.98 at Walmart), 18×24 inch blank canvas ($12.99 at Joann), 4-inch plastic putty knife. You can replicate the exact look of expensive textured art with drywall spackle. I recommend DAP DryDex because it goes on pink and turns white when fully dry. Lay your canvas flat. Scoop out 1/2 cup of spackle and smear it across the canvas. Don’t try to make it smooth. I drag the knife in wide arches, leaving ridges 1/4 inch thick. A common mistake is applying the spackle too thick. If it exceeds 1/2 inch, the spackle cracks as it shrinks. I had to throw away a canvas in November because a massive crack formed down the middle. Keep layers relatively thin but visually dynamic. It takes four hours for the pink color to fade. Once dry, seal it with Krylon Matte Finish spray ($6.99 at Michaels).

Modern Ceramic Vase Set, Neutral Colors
If you want something that just works, Modern Ceramic Vase Set is a safe bet (259 reviews, 4.5 stars).
4. Fluted Wooden Side Tables

Materials: 12-inch concrete form tube ($11.48 at Home Depot), 1/2 inch pine dowels 36 inches long ($1.18 each at Lowe’s, you need 76), Gorilla Wood Glue 4 oz ($4.98). I built one for my living room and miscalculated the dowel spacing, leaving an awkward one-inch gap. Learned that the hard way. Always measure the circumference of your tube first. Cut the concrete tube to your desired height. Apply a thick line of Gorilla Wood Glue straight down the side of the cardboard tube. Press the first dowel firmly into the glue. Secure it with painter’s tape while it dries. Don’t use hot glue. I tried hot glue last summer, and the dowels popped off three days later when the room temperature fluctuated. Wood glue creates a permanent bond. Add dowels one by one, ensuring they sit flush against each other. Top it with an 18-inch round pine board ($14.98 at Home Depot).
5. Botanical Wax Sachets

Materials: Soy wax flakes 1 lb ($12.99 at Michaels), dried lavender buds 2 oz ($4.99 at Whole Foods), silicone mold ($8.99 at Joann). I used to buy expensive linen sprays until I realized soy wax holds essential oils for months. Melt 2 cups of soy wax flakes in a glass measuring cup over a pot of boiling water. Don’t microwave the wax. I microwaved a batch last spring and scorched it. The wax turned yellow and smelled like burnt plastic. Stir in 30 drops of lavender essential oil. Pour the liquid wax into your silicone mold. Wait exactly three minutes. The wax will start to turn cloudy at the edges. Gently press 1 tablespoon of dried lavender buds into the surface. If you add botanicals while the wax is totally clear, they sink to the bottom. Let them cure undisturbed for two hours.
6. Pressed Fern Floating Frames

Materials: 11×14 Threshold floating frame ($15.00 at Target), fresh fern fronds, heavy books. First, press your ferns properly. Lay them flat between two sheets of parchment paper inside a heavy textbook. Stack three more books on top. Leave them for 14 days. I checked mine after five days once, and they curled up inside the frame within a week. You must wait the full two weeks. Open your Target floating frame and clean both glass panels with Windex. Dust particles show up terribly. Place the fern on the bottom glass. Here’s the trick: apply a microscopic dot of Elmer’s clear glue ($2.49 at Walmart) to the back of the thickest stem. Press it to the glass. Without this anchor, the fern slides down the second you hang it. Place the top glass over it. You might also like: 15 Cozy Living Room Ideas That Actually Work
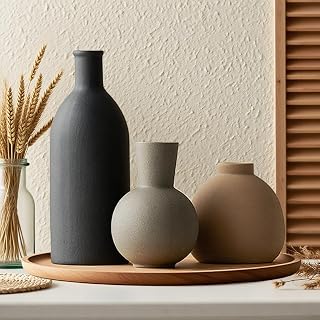
Ceramic Vase Set of 3, Vases Home Decor
A dependable everyday pick — Ceramic Vase Set of 3 pulls in 30 ratings at 4.5 stars. Not flashy, just solid.
7. Custom Linen Slipcovers

Materials: 100% European linen 2 yards ($24.99/yd at Joann), Singer heavy duty needles ($4.49 at Walmart). You must pre-wash your linen. I skipped this step on my first attempt in 2021. I sewed a tight-fitting cover, washed it a month later, and it shrank three inches. Wash the 2 yards of linen on cold and tumble dry low. Drape the fabric over your chair inside out. Pin the fabric along the natural seams of the chair using straight pins. You’re essentially tracing the chair’s shape. Slide the pinned fabric off carefully. Sew along your pin lines using a heavy-duty needle. Standard needles snap when pushing through folded linen. Leave the bottom hem raw for a deconstructed look. The fabric drapes heavily, hiding the chair’s original upholstery entirely. It costs about $50 total, compared to a $400 custom upholstery job. You might also like: 18 Modern Farmhouse Decor That Actually Work
8. Terracotta Painted Glass Vases

Materials: Simple glass vases ($3.99 at Kroger), Rust-Oleum Chalked spray paint in Aged Brick 12 oz ($8.48 at Home Depot), clear matte sealer. If you want a smooth, authentic terracotta finish without the chunky texture, chalk spray paint is the exact product you need. Oils from your hands prevent the paint from adhering, so clean the glass first. Take the vase outside. Shake the Rust-Oleum can for a full two minutes. Don’t skip the shaking. The chalk particles settle, and if you spray too soon, it comes out watery. Hold the can 10 inches away and spray in light, sweeping motions. The first coat dries in 20 minutes. Apply three thin coats. I made the mistake of spraying one thick coat last December. It caused massive drip marks. Once the third coat is completely dry, spray it with a matte clear sealer to prevent scratching. You might also like: 20 Cozy Apartment Decor You Need to See
9. Macrame Plant Hangers

Materials: 3mm cotton macrame cord 100 yards ($9.99 at Michaels), 2-inch wooden ring ($1.50). I switched to making my own plant hangers after a cheap synthetic one snapped and dropped my pothos plant onto the floor. Cut eight pieces of cord, each 15 feet long. Fold them in half and loop them through your wooden ring, securing them with a gathering knot. Separate the 16 cords into four groups of four. Tie a series of square knots down each group. I keep my tape measure handy to ensure every knot is exactly 3 inches apart. I eyeballed my first hanger, and the plant constantly leaned to the left, spilling soil. Once you reach the desired length, gather all 16 cords and tie one final, tight gathering knot at the base. Trim the excess cord to leave a 6-inch tassel.

Ceramic Vase for Flowers
Honestly, Ceramic Vase for Flowers – Modern Small Ribbed Textured Flower Vase fo surprised me — sturdier than it looks in the photos, and over 646 buyers gave it 4.5 stars.
10. Tassel Throw Pillows

Materials: 2-pack down inserts 20×20 inch ($14.99 at Costco), plain cotton pillow covers ($9.99 at Target), embroidery floss 6-packs ($3.49 at Joann). I exclusively use Costco down inserts because polyfill pillows look lumpy and cheap. To make the tassels, wrap a full skein of embroidery floss around a 4-inch piece of cardboard 30 times. Tie a piece of string through the top loop, then cut the bottom loops. Tie another string tightly around the top to create the tassel head. Hand-sew one tassel to each corner of the pillow cover using a needle and thick upholstery thread. Don’t use hot glue for this. I glued tassels to a pillow last winter. My dog stepped on the pillow, and the tassel ripped right off. Sewing takes ten extra minutes and ensures the tassels survive daily use and the washing machine.
11. Floating Pine Wood Shelves: Practical Home Made Decor Ideas

Materials: 2×8 pine board 8 ft ($12.48 at Home Depot), Minwax Wood Finish stain in Early American 1/2 pint ($6.98 at Lowe’s), floating shelf brackets ($16.99 on Amazon). Have the lumber associate at Home Depot cut the 8-foot board into three 32-inch sections. Sand the rough edges with 120-grit sandpaper. Apply the Minwax Early American stain using an old cotton rag. Let it penetrate the wood for exactly five minutes before wiping off the excess. If you leave it on longer, pine turns dark and muddy. I ruined a piece of wood by leaving the stain on for twenty minutes while I answered a phone call. To hang them, you must drill into wall studs. Don’t use drywall anchors for heavy wood shelves. Drill a 1/2 inch hole into the back of the wood shelf and mount the bracket to the stud.
12. Minimalist Polymer Clay Knots

Materials: Sculpey polymer clay 2 oz ($2.99 at Michaels), parchment paper. Sculpey polymer clay is the best material for this because it stays soft until you bake it. Take two 2-oz blocks of white clay and knead them together in your hands for five minutes. The warmth of your hands conditions the clay. If you skip kneading, the clay cracks when you bend it. Roll the clay out on a smooth counter until you have a uniform tube about 18 inches long and 3/4 inch thick. Carefully tie the clay tube into a loose overhand knot. Place the knot on a baking sheet lined with parchment paper. Bake it in your oven at 275 degrees for exactly 30 minutes. I burned a batch last year by setting the oven to 350 degrees. The clay blistered, turned brown, and smelled toxic. Follow the temperature instructions precisely.

Vanselia Ceramic Flower Vase Home Decor
Honestly, Vanselia Ceramic Flower Vase Home Decor – Farmhouse Table Vases Rustic surprised me — sturdier than it looks in the photos, and over 786 buyers gave it 4.5 stars.
13. Dried Citrus Garlands

Materials: Navel oranges 3 lb bag ($3.49 at Trader Joe’s), jute twine 50 ft ($3.99 at Walmart), large darning needle. You need firm, fresh navel oranges. Cut them into exact 1/4-inch slices using a sharp serrated knife. Don’t cut them thicker. I sliced them 1/2-inch thick on my first attempt, and they rotted in the oven instead of drying out. Blot the slices heavily with paper towels to remove excess juice. Place them on wire cooling racks set over baking sheets. Bake at 200 degrees for four hours, flipping them every hour. They’re done when the flesh becomes translucent and the rinds feel stiff. Let them cool completely overnight. Thread a large darning needle with jute twine. Pierce the needle through the flesh of the orange, just under the rind. Space the oranges about two inches apart. Keep them away from direct moisture, or they’ll mold.
14. Upholstered Plywood Headboard

Materials: 1/2 inch plywood 4×8 ft ($32.98 at Lowe’s), high-density foam 2-inch thick ($24.99 at Joann), staple gun. Have Lowe’s cut the plywood to 60 inches wide and 36 inches tall for a standard queen bed. Spray the board with a light coat of spray adhesive and press the 2-inch high-density foam onto the wood. Wrap a layer of cheap quilt batting ($9.99 at Walmart) over the foam, pulling it tightly to the back of the plywood, and staple it every three inches. Wrap your chosen fabric over the batting. Start stapling in the center of the top edge, pulling the fabric taut. I messed up the corners on my first headboard by bunching the fabric. You must fold the corners exactly like wrapping a present, creating a clean, flat diagonal crease before stapling. Mount the headboard to the wall using a metal French cleat system.
15. Rope Wrapped Storage Baskets

Materials: Cheap plastic laundry basket ($4.98 at Walmart), 3/8 inch sisal rope 100 ft ($16.88 at Home Depot), hot glue gun. You need a high-temperature hot glue gun. The low-temp craft guns don’t melt the glue hot enough to bond the heavy rope to the smooth plastic. Start at the bottom edge of the basket. Apply a 4-inch line of hot glue directly to the plastic and press the end of the sisal rope into it. Continue wrapping the rope tightly around the basket, applying glue every few inches. Push each new row of rope down firmly against the previous row so no plastic shows through. I burned my thumb severely doing this last spring. Always wear leather work gloves when pressing the hot glued rope. Wrap the rope right over the plastic handles. The finished product is a heavy, rigid, textured basket.

Vintage Vase Set of 3, Ceramic Vintage Flower Vases
Vintage Vase Set of 3 has been one of the most consistently praised picks in this category. 306 reviewers averaged 4.5/5.
16. Painted Arch Wall Feature

Materials: Behr Premium Plus flat paint 1 quart ($19.98 at Home Depot), 2-inch angled brush, push pin, string, pencil. Measure the width of your desired arch. Let’s say it’s 40 inches wide. Find the exact center point (20 inches) and mark it on the wall. Tie a piece of string to a push pin. Stick the pin into your center mark. Tie a pencil to the other end of the string so the distance is exactly 20 inches. Pull the string taut and draw a perfect half-circle. Use a level to draw straight lines down from the edges to the baseboard. I tried freehanding the curve once in a client’s bedroom. It looked lopsided and amateurish. Paint the edges slowly with a 2-inch angled brush. Don’t use painter’s tape on the curve; tape doesn’t bend smoothly and causes jagged paint bleeds. Fill in the center with a small roller.
17. Faux Marble Vanity Trays

Materials: Marble contact paper 18×75 inch ($6.00 at Target), 12×12 inch ceramic floor tile ($2.48 at Lowe’s), 4 felt pads. You can build a realistic version using a standard ceramic floor tile. Wipe the tile down with rubbing alcohol to remove any dust. Cut a square of marble contact paper that is 16×16 inches. Peel back the top two inches of the backing paper and align it with the top edge of the tile. Use a plastic credit card to smooth the paper down, pushing out air bubbles as you slowly peel away the rest of the backing. I rushed this step on my first try and trapped a massive air bubble in the center that I couldn’t remove. Wrap the excess paper tightly around the edges of the tile, folding the corners neatly underneath. Stick four felt furniture pads ($3.18 at Walmart) to the bottom corners to prevent scratching your vanity.
18. Beaded Wood Garlands

Materials: 20mm unfinished wood beads 50 count ($4.99 at Joann), 14mm wood beads 50 count ($3.99 at Joann), hemp cord. I buy raw, unfinished wood beads in two different sizes. Cut a 4-foot length of hemp cord. Tie a thick knot at one end. String the beads onto the cord, alternating between the 20mm and 14mm sizes. If you want to alter the color, don’t use thick craft paint. The paint clogs the holes and chips off when the beads rub together. I ruined a batch of 100 beads in September by painting them with a brush. Instead, put the beads in a plastic ziplock bag, add 1 tablespoon of water and 1 teaspoon of acrylic paint. Shake the bag vigorously. This creates a thin stain that dyes the wood without building up a thick coating. Dump them on a paper towel to dry for an hour before stringing.
These projects require specific materials and patience, but the results are undeniable. I’ve tested every single one of these methods, and they hold up to daily wear and tear. No exaggeration. Stop settling for flimsy decor. If you follow the exact measurements and drying times I’ve laid out, you’ll build pieces that look professionally sourced. I highly recommend starting with the plaster canvas or the fluted side table this weekend. Pin this list so you have the exact material costs and measurements saved for your next trip to the hardware store.
Frequently Asked Questions
What materials are best for home made decor ideas?
Industrial materials like Quikrete 5000, heavy-duty spackle, and solid pine wood offer the best structural integrity. Avoid low-temp hot glue and cheap acrylic craft paints, which tend to peel, crack, or fail under tension.
How do I prevent my home made decor ideas from looking cheap?
Focus on texture and weight. Use heavy ceramic tiles for bases, add baking soda to paint for a matte ceramic finish, and strictly follow recommended drying times to prevent visible cracking or warping.
Can I use hot glue for home made decor ideas?
Only use high-temperature hot glue for porous materials like sisal rope. For structural wood projects like fluted tables, you must use real wood glue. Low-temp hot glue snaps when room temperatures fluctuate.
Why do my concrete home made decor ideas keep cracking?
Cracking usually happens because of an incorrect water-to-mix ratio or demolding too early. Use commercial-grade aggregate concrete, measure the water exactly, and let it cure for a full 48 hours without touching it.
